Upgrading modules
Before Attempting Update
Upgrading modules is a simple process but from time to time some customers overcomplicate it and end up causing errors on their systems. Before we describe how to complete the upgrade, let us focus on what you shouldn't do.
Do not deactivate the module. Deactivation has nothing to do with upgrading. On the contrary it will permanently delete all modules data from database. Depending on the module you are running, you could lose important data.
| Module | Data Removed with Deactivation |
|---|---|
|
|
|
Bear in mind the above lists are not exhaustive and that the only way to restore data is to use a full backup of WHMCS database. Let us repeat once again that you should never deactivate the module unless you really want to unlinstall it.
Do not upload new files in fancy ways. We've seen people uploading files one by one in wrong directories and clicking "No" when FileZilla asks them to overwrite files. If you do that, you will fase a lot of issues since you're keeping old files.
Even though you can safely perform the upgrade, we still recommend to backup your database and old module files. This is an important protection in case something goes wrong.
Download
Begin by downloading the latest version from our website. Visit WHMCS modules, select your module and click Manage button (login required).

From download page you can always find the latest version of the module that can be download in multiple packages depending on your PHP version. We wrote an article to help you choosing the right one. If you're in a hurry, download the one with Bundle in its name. It will work on all systems.

We underline that all downloads are safe. We use a tool that automatically performs File Checksum Integrity Verification multiple times per day to make sure you are downloading safe files.
Extract
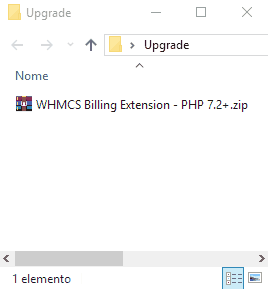
Extract the Zip you have just downloaded (Right-click > Extract here) and open the resulting folder that has the same name of the Zip. Here you will find foder named modules. This is the folder that needs to be uploaded on your server.

Upload
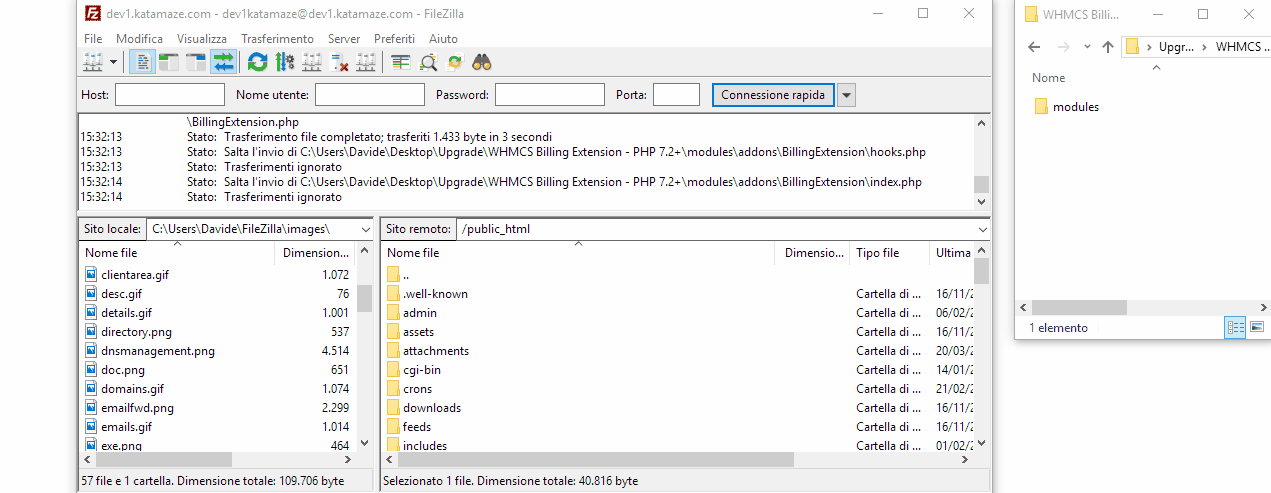
Use an FTP Client like FileZilla to upload modules folder to the root directory of your WHMCS. The root directory is the one with configuration.php file. When the overwrite confirmation prompt is shown, confirm you want to overwrite all files.

That's it. You have successfully updated your module to latest version. Changes to database are automatically applied by the intergrated Auto-Updater.
 Billing Extension 37
 Commission Manager 3
 Mercury 8
 Payments Bundle 2


Comments (0)